
Take Life One Cup At A Time
take the quiz! It only takes a minute - promise! >
Hey girl! What's Your Signature Latte? Whether it's a frothy latte or a cold brew, your personality shines through. Find out what your java ingredients are!

shop my instagram
LIKEtoKNOW.it


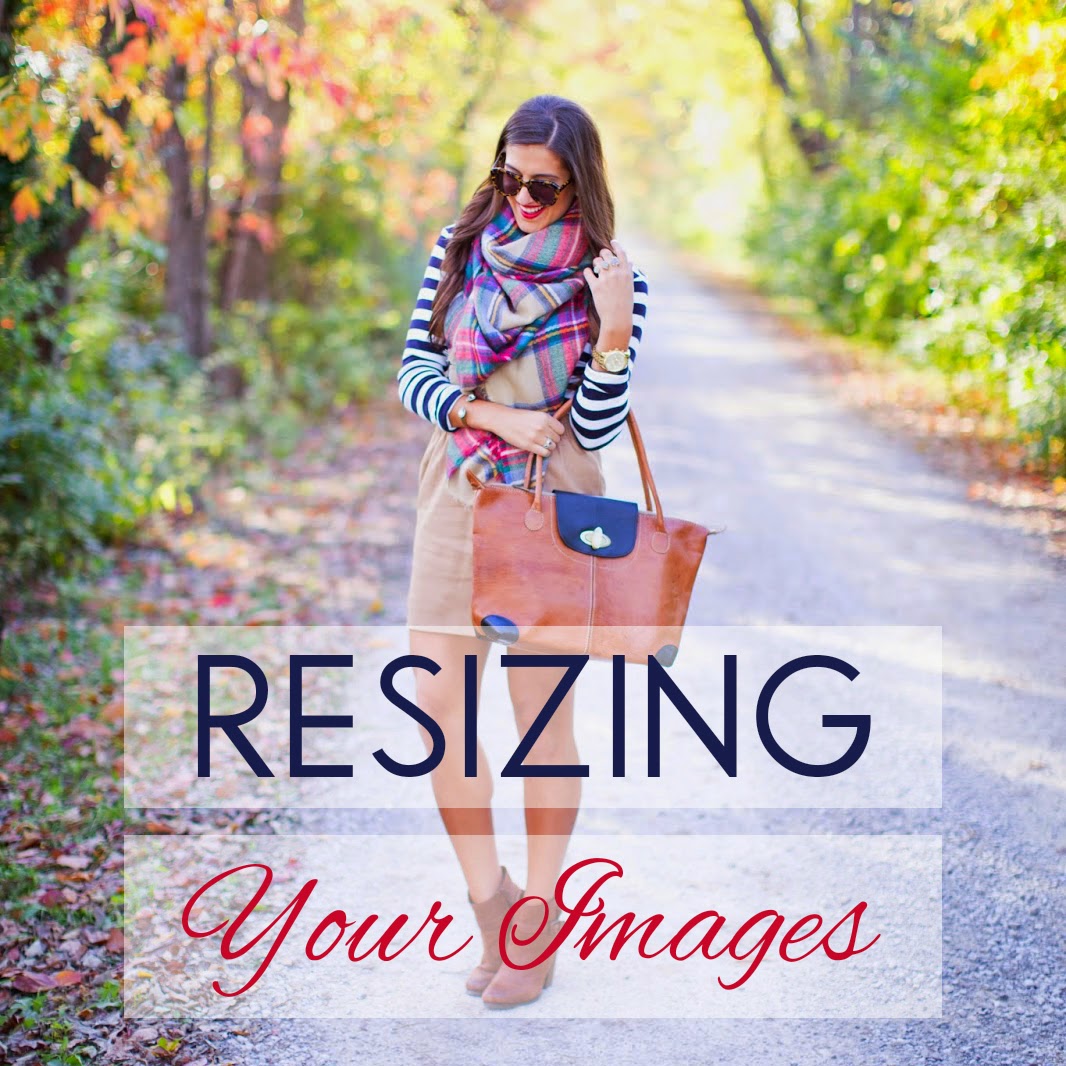
Photo Tip Thursday: Resizing Your Images
For this week’s Photo Tip Thursday, I’ll be taking you back to the digital darkroom {a.k.a. your computer} for a time/space saving tip that will hopefully rock your world. It’s about resizing your images. What I mean by resizing your pictures is shrinking them to the exact dimensions {measured in pixels} that your blog displays them in. For instance, the image size that’s used for A Southern Drawl’s images is 650 {width} x 975 {height} pixels.
For example, straight out of the camera, the image size is around 3648 x 5472 pixels, and file size wise, it’s about 25MB. That’s enormous. The thing is though, if you were to upload this image at this size to you blog, it would only be displayed at 650 x 975 pixels but retain it’s original 25MB file size. That’s a waste of space. Resizing your images means that the file sizes are much, MUCH smaller. After resizing an image to blog dimensions, the file size is reduced to a mere 700 KB. That’s right, I meant kilobytes. That’s 0.028% of the original file size! Crazy right? Because of this, images upload to your blog faster when you’re making your posts, your posts will load much faster when people pull up your blog because there’s less information to load, and it’ll be a ton easier to upload those photos to Dropbox so that you can have them on your phone for your Instagram posts.
If you open up the HTML coding on your blog, you’ll be able to see exactly how wide your images are on your website. Once you find the width that you need to resize your images to, you’ll need to find the corresponding height. Multiply the width by 1.5 to get the proper height so as to maintain the correct aspect ratio for your photos.
650 pixels in width x 1.5 = 975 pixels in height
Once you have these measurements, you can now resize your images. In Lightroom, you’ll find the resizing option in the Export dialogue. What’s really cool is that once you’ve entered the dimensions you want, you can save them as an export preset so that you can apply it to future exports without having to re-enter the values and settings that you’ve applied.
 |
| With Lightroom, you can select all of the photos that you want to export at once, then resize them in the export dialogue saving you a ton of time. |
In Photoshop Elements/Photoshop, click the “Images” tab and scroll down to where it says “Image Size” and click. Enter the dimensions that you want and click “OK”. It’s a little more time consuming because you’ll have to do it to all of your images one at a time, but it can be done. This is why I prefer using Lightroom for all of my photo edits.

That’s it! Now you’ll have smaller image sizes {and file sizes} custom suited for your blog’s needs.
Leave a Reply


Become a healthier version of yourself by joining the FITwithASD community today! For only $8.99/month or $89/year, you never have to worry about workouts, macros, or a meal plan again.
learn more about fitwithasd ⟶


shop my instagram
LIKEtoKNOW.it
The All-Time Favorite Posts

read this post
⟶
Personal
10/27/18 Mr. & Mrs. White
There’s not a day that goes by when I don’t feel so blessed to be Jordan’s wife. He is my everything. These photos and video are the sweetest reminder of our love for one another. So, grab a cup of coffee, pull up a seat, and try not to bawl your eyes out (because I know we did). Every time we look through our photos and watch our video, we cry the happiest tears.


read this post
⟶
Personal
The Proposal
It’s crazy what can happen in a year. I met the love of my life and the rest is history. I was having a hard time ending this post, because frankly, I think I could talk about that evening forever. Then I realized that this post doesn’t have an ending, but instead, a beginning. Thank you so much for all of the love, excitement, and gratitude.


read this post
⟶
LIFESTYLE
Dark Chocolate Chip Pumpkin Bread
One of my favorite things to do in the fall is bake my dark chocolate chip pumpkin bread! I’ve made it *so* many times for me, J, and friends & family. It’s moist, decadent, and super easy to make! It also makes for a great DIY housewarming gift.


Thank you so much for posting this! I've been wondering about this for so long, and this is the perfect tutorial! Love your blog and style as well!
xoxo
Lauren
http://www.dressingdallas.com
This is a great post! I love how informative your posts on photography and blogging are. Thanks for sharing! 🙂
Kim
http://trendkeeper.me … I'm doing a giveaway!
This kind of post are really useful thanks for share!
Rock and vintage outfit on lb-lc fashion blog
Great tip on the sizing formula. Going to mark this down in my blog book so I always know the correct dimensions for my vertical and horizontal photos. Thank you!
Northern Beauty
Great little tip. My blog won't even let me upload original sizes, so I have to resize anyway. Thanks for sharing.
http://absolutelytara.com
Life saver! Now I want to go re-size ALL of my images! Thanks!
I wish I had Photoshop.. I just use PicMonkey, which I'm happy with, but it definitely takes MUCH longer to edit images than if I just had the software on my computer. I use Flickr to host my images rather than upload straight to the post (because for some reason Blogger has been distorting them), and I change the width in html. No need to change height in html once you change the width, or vice versa; you only need to change one of them and the image will automatically adjust. I wonder if makes for a slower load time, though..
Thanks so much for sharing!!
xo,
Shantell
http://www.getyourchicon.com
Thank you for the great tip.
xx, jodi
http://highheelsandtutus.com
I appreciate all the tips you post on photography! Really helps with learning my DSLR
I appreciate all the tips you post on photography! Really helps with learning my DSLR